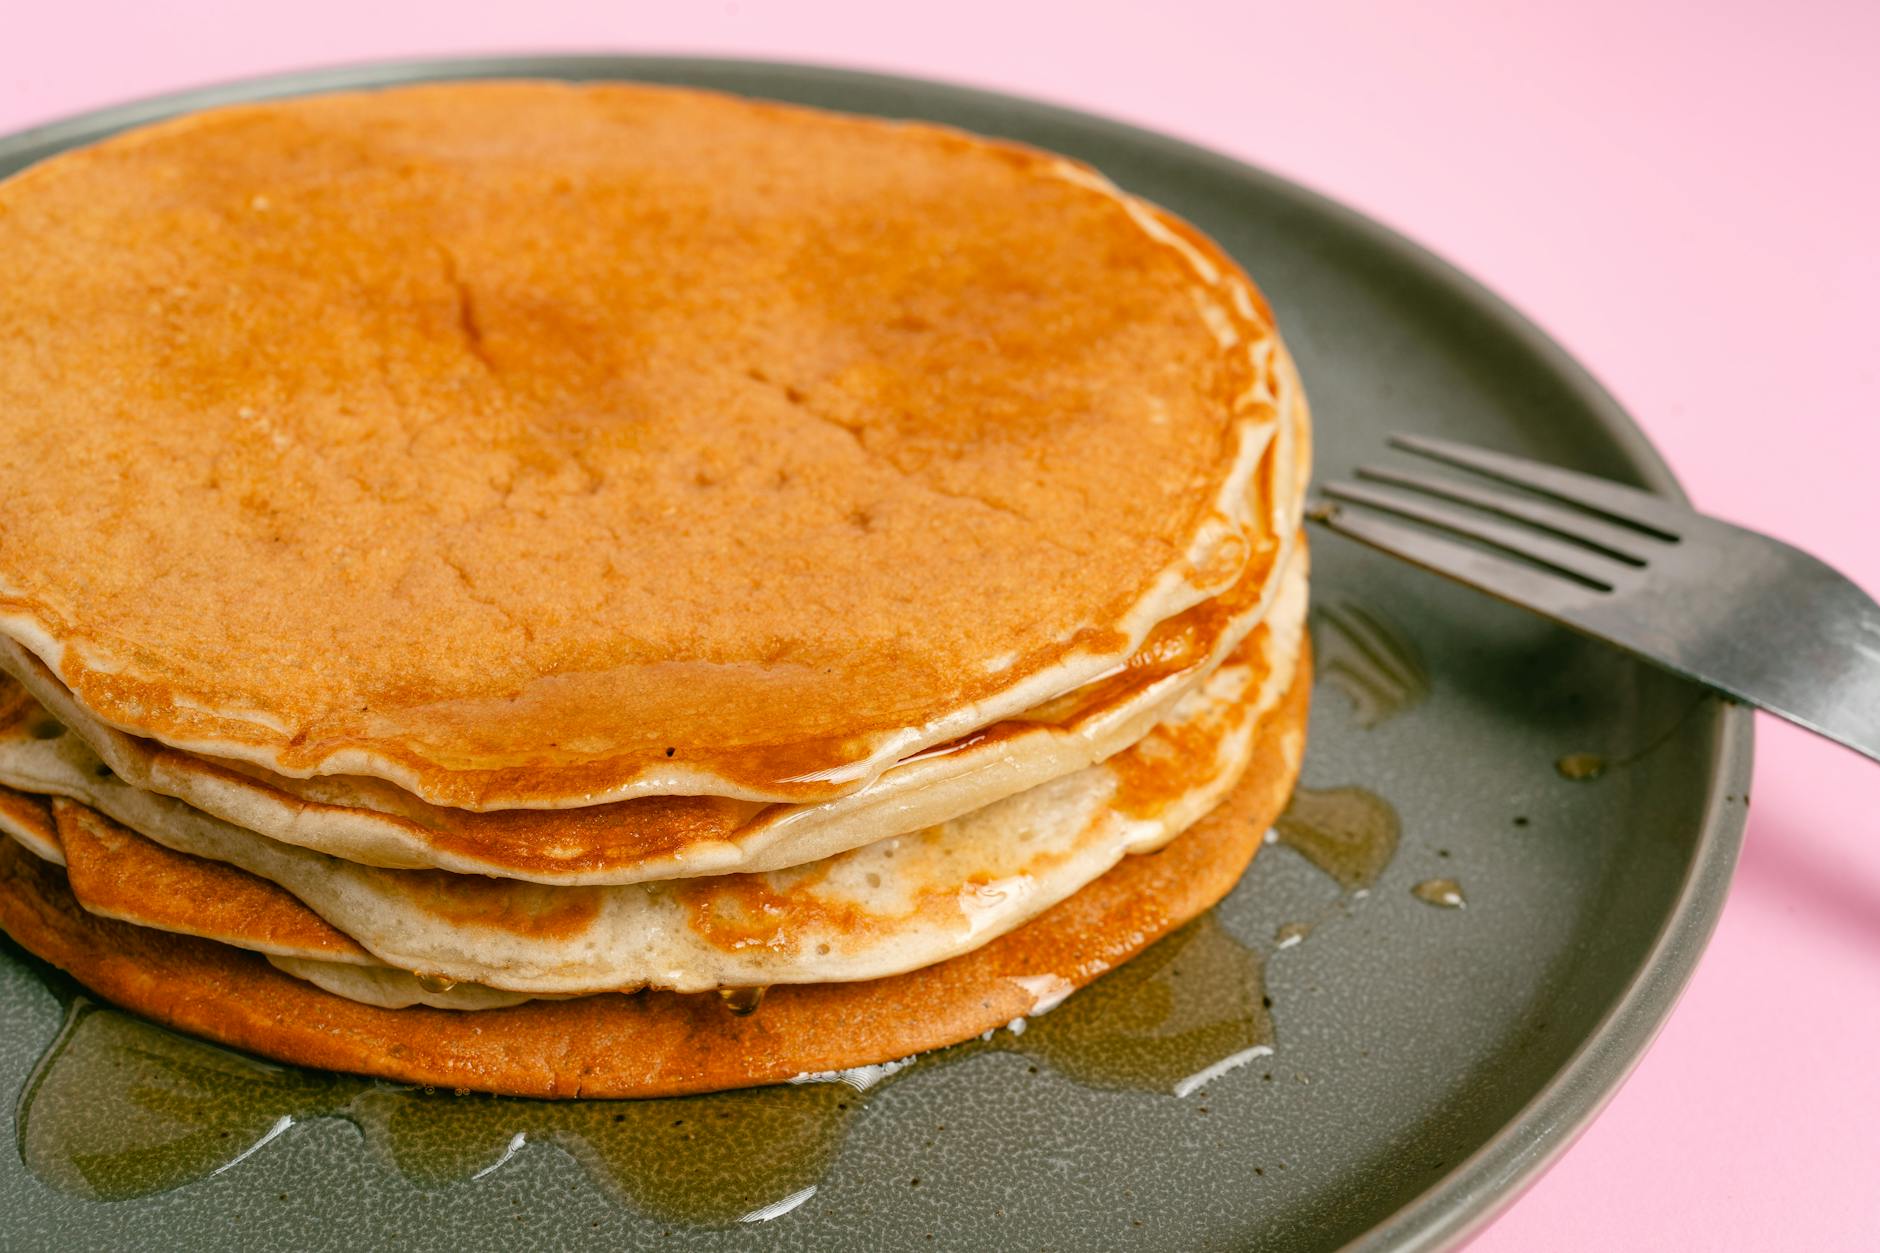
If your pancakes have ever come out flat, gummy, or pale in the middle, the fix isn't a fancier recipe — it's two small habits. Real buttermilk and a gentle hand. That's it. Once you stop overmixing the batter and stop crowding the pan, classic buttermilk pancakes become a 20-minute weekend staple you can make half-asleep.
Why this recipe works
Buttermilk does two jobs at once. The acidity reacts with baking soda to create lift, and the proteins tenderize the gluten so the pancakes stay soft instead of going chewy. A few lumps in the batter are not a flaw — they're future air pockets. Stir until the flour is just hydrated, then walk away for five minutes. That short rest hydrates the flour evenly and lets the leavening start working, which is the difference between a 1-inch tall pancake and a sad pita.
The technique that matters most
Heat your pan over medium-low, not medium. A drop of water should sizzle and skate across the surface, not vanish in a puff of steam. If the pan is too hot, the outside browns before the middle sets and you get raw centers. Patience here pays off in five seconds of cook time.
Cooking cue
Wait until you see bubbles forming and popping across the surface and the edges look dry. That's the only flip signal you need. One flip per pancake. No pressing down with the spatula — you're squashing all that lift you just created.
Easy variations
Fold a handful of fresh blueberries directly onto the wet side after pouring (don't stir them into the batter — they bleed). For a richer version, swap a tablespoon of the flour for cocoa powder and add chocolate chips. A teaspoon of vanilla and a pinch of cinnamon turn them into something close to a cinnamon roll.
Storing and reheating
Stack leftover pancakes between sheets of parchment and freeze in a zip-top bag for up to three months. Reheat straight from frozen in a 350°F oven for 8 minutes — they come back almost as good as fresh, and infinitely better than anything from a box.