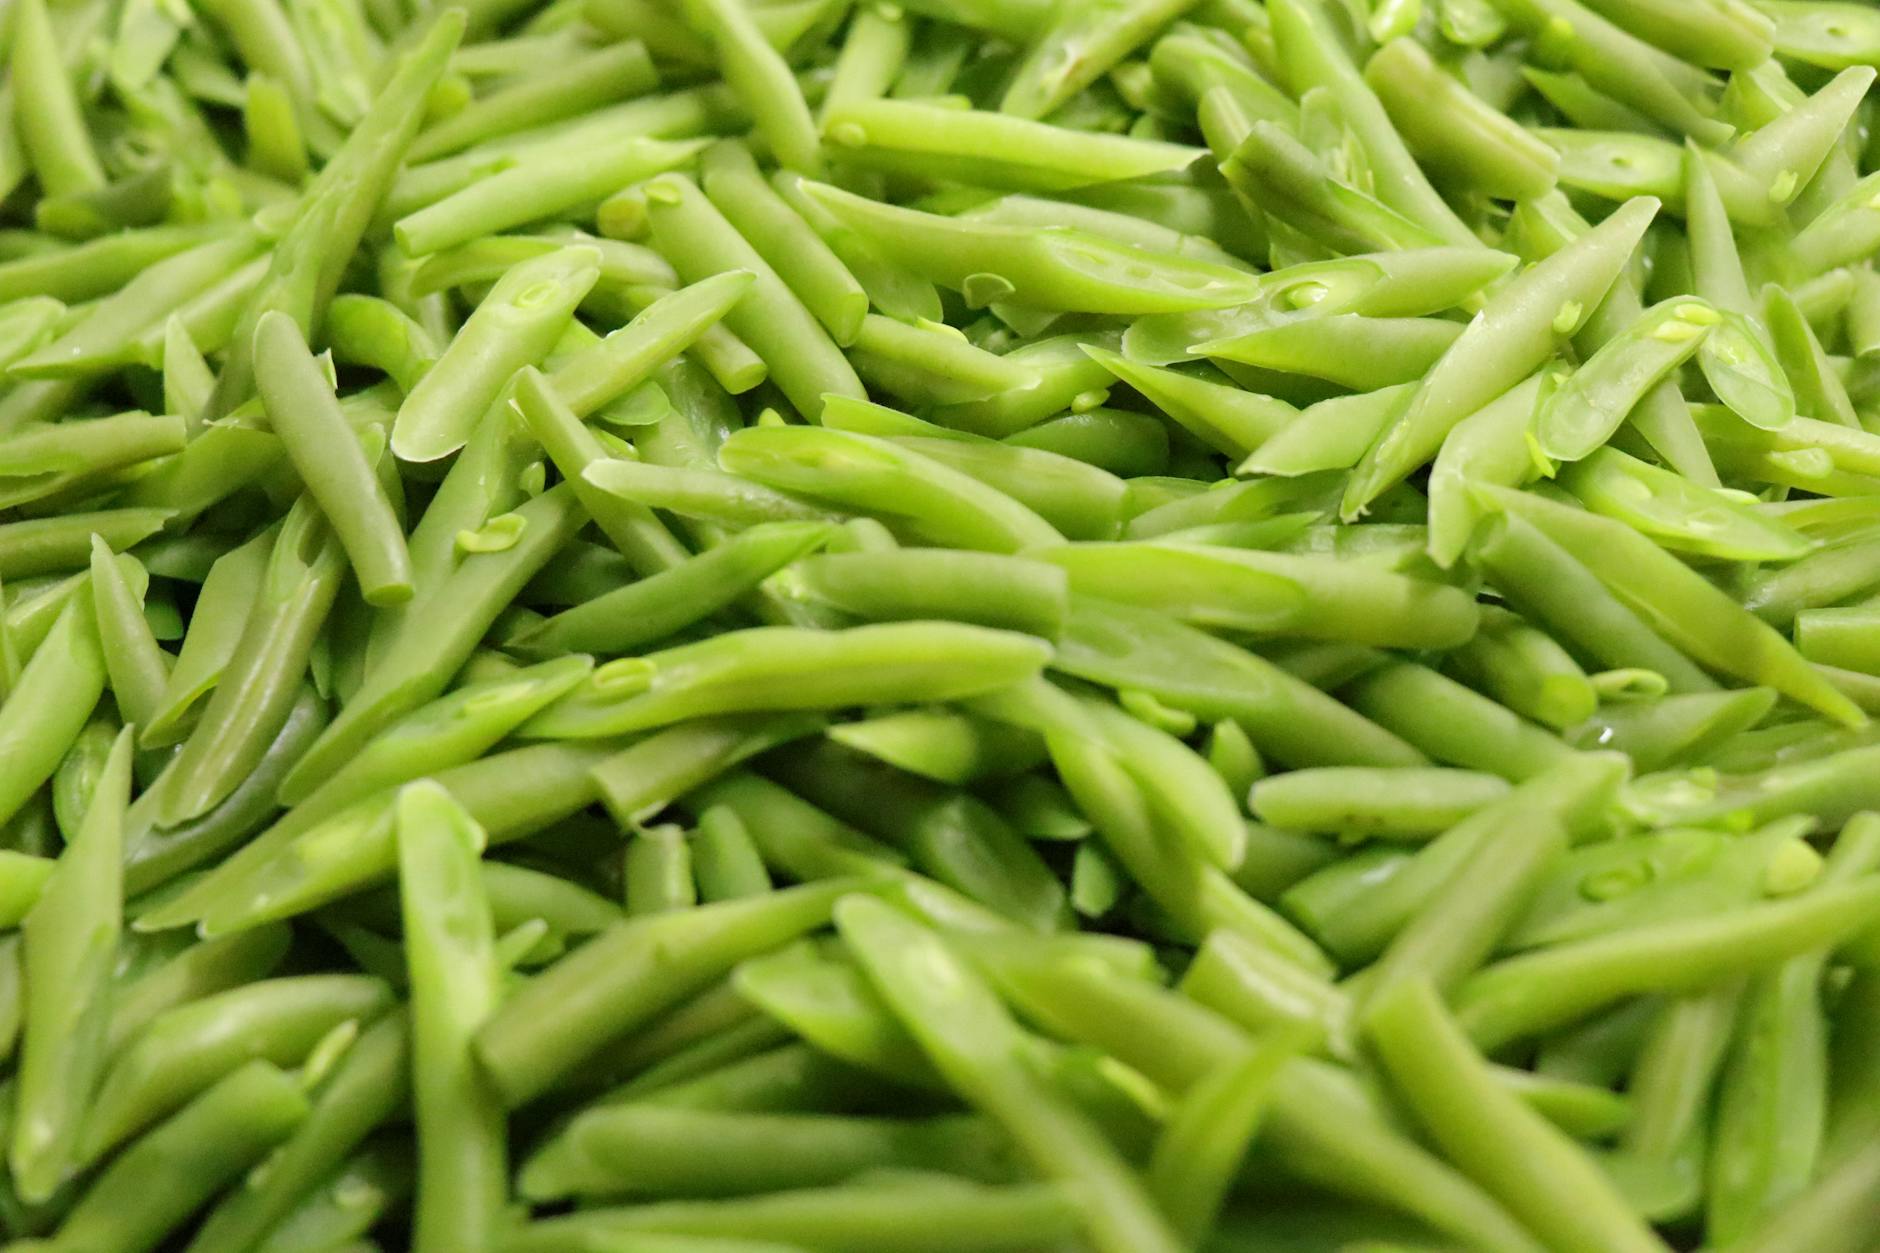
Green beans get a bad reputation from soft, gray, school-cafeteria versions. Real green beans are bright, snappy, and slightly charred on the edges. They take 10 minutes to make and they're the side dish I lean on when I need to get something green on the plate fast and don't want to think about it.
The technique in one paragraph
Heat a wide pan very hot. Add oil, then the beans. Don't move them for 90 seconds — let them blister. Toss, blister the other side, add garlic at the very end so it doesn't burn. Finish with lemon zest and salt. That's the whole recipe.
Why high heat is non-negotiable
Green beans contain a lot of water. Low heat steams them — you get limp, dull-green beans that taste like nothing. High heat blisters the skin before the moisture has time to escape, which keeps the inside tender-crisp and concentrates the flavor. Cast iron or carbon steel works best because it holds heat aggressively.
Two upgrades worth knowing
Add a teaspoon of soy sauce and a pinch of sesame seeds at the end for an Asian-leaning version. Or finish with a tablespoon of butter and a squeeze of lemon for a more classic French treatment. Both take ten extra seconds.
Don't skip the salt
Green beans need more salt than you think. Taste one before serving and add a pinch more if it's flat — salt brings out their sweetness.
What about frozen?
Frozen whole green beans actually work surprisingly well for this. Don't thaw them — toss them straight into the hot pan from frozen and let the moisture cook off. The texture won't be quite as crisp as fresh, but they're still better than soggy boiled beans.